Your First Studio Photography Shoot: A Beginner's Guide
June 28, 2026
Hi, and welcome. There is something a little magical about your first studio photography shoot. After months of chasing good light outdoors and working around the weather, you finally step into a space where you control everything: the light, the background, the mood, the pace. It is exciting, and if we are honest, it can also feel a touch overwhelming the first time.
At Desk and Studio, we have had the privilege of watching countless photographers take that first step and grow into confident studio shooters. So we have pulled together this beginner’s guide to help you walk into your first session feeling prepared rather than nervous. Let us take you through it.
Why shoot in a studio at all
Natural light is wonderful, but it does what it wants. A studio gives you something the outdoors never can, which is consistency. The light is the same at nine in the morning and three in the afternoon. Rain does not cancel your shoot. You can repeat a look exactly, frame after frame, which matters a great deal when you are building a portfolio or delivering for a client.
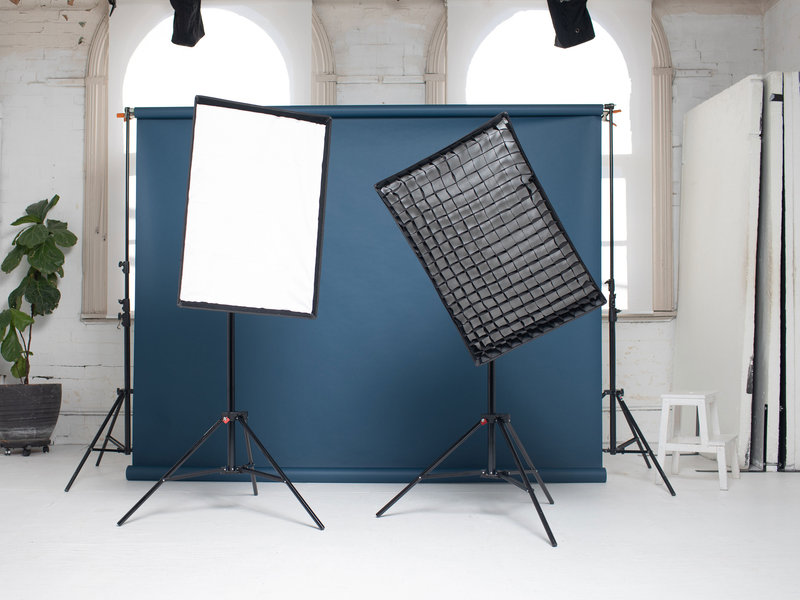
A studio also gives you a clean, distraction-free background and the room to shape light deliberately. That control is what separates a snapshot from a polished, professional image. Learning to use it is one of the most valuable skills you can build, and it is the heart of what makes a versatile photographer. If you want to go deeper on blending both worlds, our guide to mastering natural and studio light is a great next read.
What to plan before you arrive
The best studio sessions are won before you ever pick up the camera. A little preparation protects your time and your budget, especially when you are hiring the space by the hour. Here is what to sort out first.
- Your concept. Decide on the look and feel you are going for. Mood boards and reference images keep you and your subject on the same page.
- Your shot list. Write down the specific frames you need. This stops you freezing up mid-session and makes sure nothing important is forgotten.
- Your subject or products. Confirm timings with any models, and prepare wardrobe, props or products in advance so they are ready to go.
- Your gear check. Charge your batteries, clear and format your memory cards, and pack the lenses you actually plan to use.
- Your timing. Be realistic about how long each setup takes. Beginners almost always underestimate this, so build in a buffer.
Setting up your space
When you arrive, resist the urge to start shooting straight away. Taking ten quiet minutes to set up properly will make the whole session smoother. Work through it in this order.
- Choose your backdrop. Start with your background, because it anchors everything else. A clean paper roll is a forgiving choice for portraits and products alike.
- Place your subject. Position your subject a comfortable distance in front of the backdrop. A little separation helps avoid harsh shadows falling behind them.
- Add your key light. This is your main light. Begin with one light source and shape it with a modifier until the look feels right. One good light is almost always better than three badly placed ones.
- Fill the shadows. Use a second light or a simple reflector to soften the shadows on the opposite side, to the depth that suits your style.
- Check your camera settings. In a studio you can usually work at a low ISO with a moderate aperture, then dial in your shutter speed and power to taste. Take a test frame and adjust before you commit.
Common beginner mistakes, and how to avoid them
Everyone makes a few stumbles on their first studio day, and that is completely normal. Knowing the usual traps in advance helps you sidestep most of them.
- Using too many lights too soon. Master one light first. You can always add more once you understand how each one shapes the scene.
- Standing your subject too close to the backdrop. This creates unflattering shadows. Give them room to breathe.
- Forgetting to review as you go. Zoom in on your shots between setups to check focus and exposure. It is far better to catch an issue on the day than back at your desk.
- Rushing the setup. A calm, deliberate start saves you time overall. Frantic energy rarely produces your best work.
- Ignoring the small details. Stray hairs, creased clothing and dust on products are easy to miss in the moment and frustrating to fix later. A steamer and a quick tidy go a long way.
Building your confidence over time
Your first studio shoot is the beginning of a skill you will keep refining for years. The photographers we admire most are the ones who treat every session as a chance to learn something new, whether that is a fresh lighting pattern, a different modifier, or a faster way to work. Progress comes from repetition, so the more often you book time in a studio, the more natural it all becomes. If you love that mindset of steady improvement, you will enjoy our photographer’s growth guide.
Frequently Asked Questions
Do I need professional gear for my first studio shoot? No. A camera you know well and one good lens are enough to start. The studio provides the lighting, backdrops and space, so you can focus on learning rather than buying equipment.
How long should I book for my first session? For your first shoot, a two to three hour block is a comfortable amount of time. It gives you room to set up calmly, work through a short shot list, and pack down without rushing.
What should my subject wear or bring? Encourage solid colours and a few outfit options that suit the mood you are after. Our green room has clothing racks, makeup desks and a steamer so everyone can get ready and look their best.
Can I shoot products as well as people in a studio? Absolutely. The same controlled light and clean backdrops that flatter portraits are perfect for product and brand photography too.
Where can I hire a studio for my first shoot in Sydney? Our studio in Petersham, in Sydney’s Inner West, is a welcoming, naturally lit space that is ideal for beginners. You can learn more on our photography studio rental guide.
Come and create with us
Everyone starts somewhere, and there is no better place to begin your studio journey than in a space that feels warm and inspiring rather than intimidating. At Desk and Studio, we have built exactly that kind of room in the Inner West, full of natural light and ready for your ideas. We would love to help you make your first studio shoot a great one.
Ready to take a tour or book your first session? Book now and let us welcome you in.
More Articles
- Your First Studio Photography Shoot: A Beginner's Guide
- Photography Studio Rental in Sydney
- Photography Workshops in Sydney and How to Choose One
- How to Find a Photo Studio Near You in Sydney
- Photo Studio Hire in Sydney's Inner West
- How to Choose the Right Photoshoot Space in Sydney
- Self-Shoot Studios: How to Take Your Own Photos in a Hired Space
- How to Hire a Studio for a Boudoir or Portrait Shoot
- How to Hire a Photography Studio in Sydney: The Complete Guide
- How Much Does It Cost to Hire a Photography Studio in Sydney?
- Hot Desk & Creative Coworking in Sydney's Inner West
- Hiring a Video Studio in Sydney: Green Screen, Lighting and Sound
- Dry Hire Explained: Renting Studio Lighting & Backdrops in Sydney
- Planning a Content or Personal Branding Shoot in a Sydney Studio
- Click, Learn, Repeat: A Photographer’s Growth Guide
- The Power of Versatility: Mastering Natural and Studio Light in Photography